I am constantly getting asked how to get better photos. Whether with their DSLR Camera or their Smartphone Camera. And the answer is ALWAYS:
#1 – GET YOUR LIGHTING RIGHT!!!!
As photographers, we search for the light before beginning to create the image.
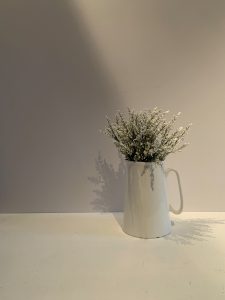
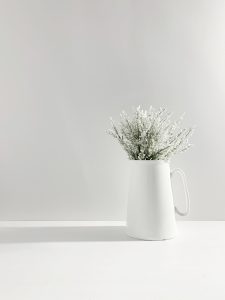
Great lighting is going to take your photos from Ugly to Pretty:
Here are some steps to follow first:
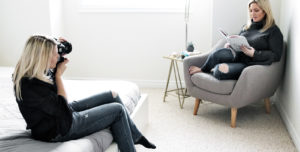
A) Find the best light in your office, living room, kitchen – wherever you plan on shooting.
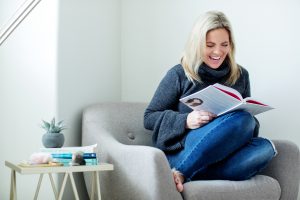
Window light can be amazing. It’s already diffused, because it’s not direct sunlight. And Diffused is really what we want.
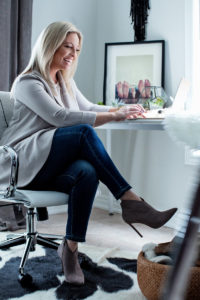

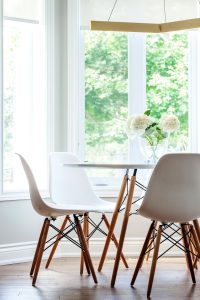
B) Set up based on the window. If it’s a large window, you could probably set up your shot on the floor. But if it’s a small window and higher off the ground, you will want to set up a table right beside the window. Here are a few examples of where I would set up:


(Not the same kitchen, but same colours and layout)

C) If you are shooting outside, choose the best time of day. Check your weather app for what’s happening the next day. If it’s overcast most of the day, great, your window of opportunity is much wider. Because, again, the sun is diffused by the clouds.
But if i’s mostly sunny, the best time of day is within the first 2 hours of the sun rising OR the last 2 hours before the sun sets.
Lastly, if you don’t have any wiggle room, and need to shoot at 1pm while the sun is really high, find some shade. And make sure it’s not spotty (what this means is when you’re under a tree and you see spots of light).
D) If you have an extremely dark space, and/or want the light to be constant, or reliable, purchase some great quality lights. These do not need to be expensive! In fact, compared to years ago when I started my business, there are so many more companies making them now. And also making LED lights, which have truly brought the costs down!


Here are the lights I would recommend for specific shots (click on the Names to find it on AMAZON):
Ring Light: Price: Just over $100 – The oh so popular and trendy light – This is great for faces, if you’re doing any video content where you’re sitting in one space. Makeup or self-care tutorials, and even video.
Light Strips: Price: Pack of 2 Just over $100 – This is great for portraits AND product. Truly these are the most versatile and my GO TO LIGHTS!
Portable Light Wand: Price: $100 or Under – Great for outdoor, or being able to move around quickly to any space. I love that it’s battery powered.
Light box: Price: Just over $100 – Photographing Products, especially anything with a reflective surface, a light box is truly ideal
Phone clip on: Price: $25 Or UNDER – When making a video or taking a photo of yourself, this just clips right onto any phone, and adds some much needed light
DSLR Strobe lights: Price: Just over $100 – If you have a Pro Camera and want your light to be more professional looking, this is a great starter Strobe Light. This one is a 300 watt. This would be good for any room in your home. Again, if you’re shooting events, or in large environments, you will need a 600 watt or higher.
That’s it. Get your Light Right. And it will take your photos from Meh to Holy Moly!